
Start with a full part photo in clean light
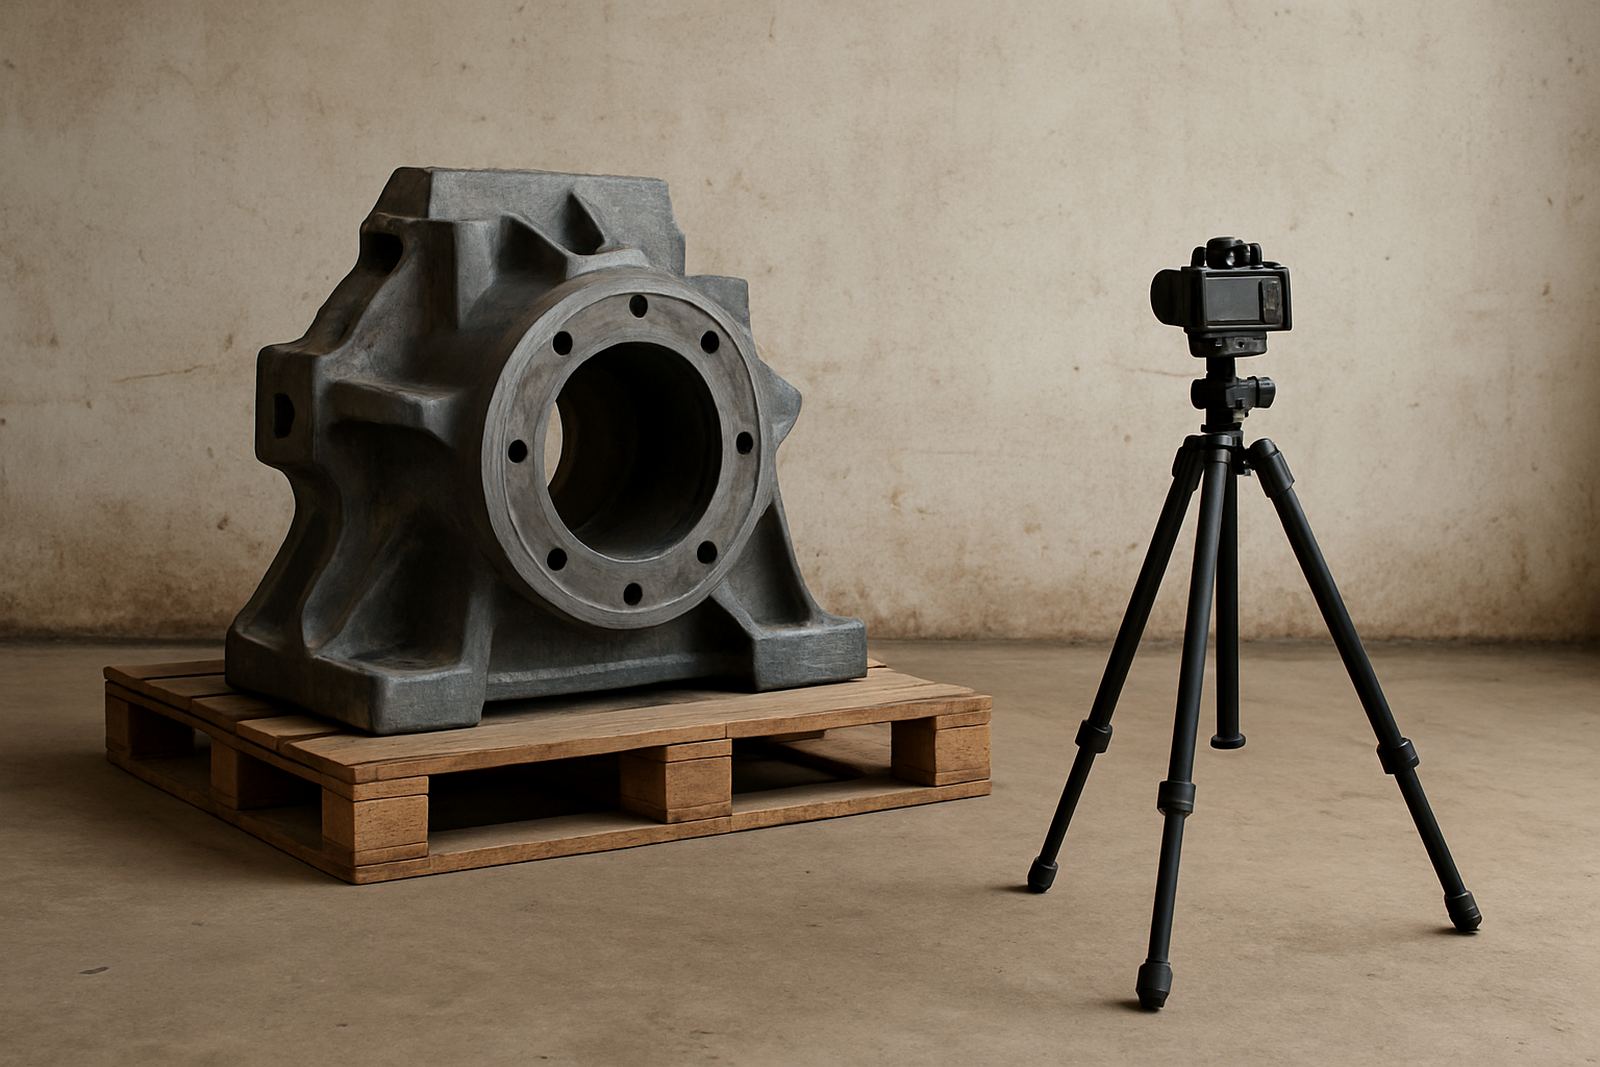
Begin with one clear image of the complete part on the ground, pallet or bench, with enough space around it to show its full outline. Natural daylight is best, but if the yard is dim or the load-shedding has started, use strong white light from two sides so shadows do not hide cracks or wear.
Stand back far enough to show the whole item, then take a second photo from a slightly higher angle. That helps a buyer see the shape, mounting points and overall condition before they ask for more detail.
- Keep the part clean enough to show the surface condition
- Include the complete item, not only one end
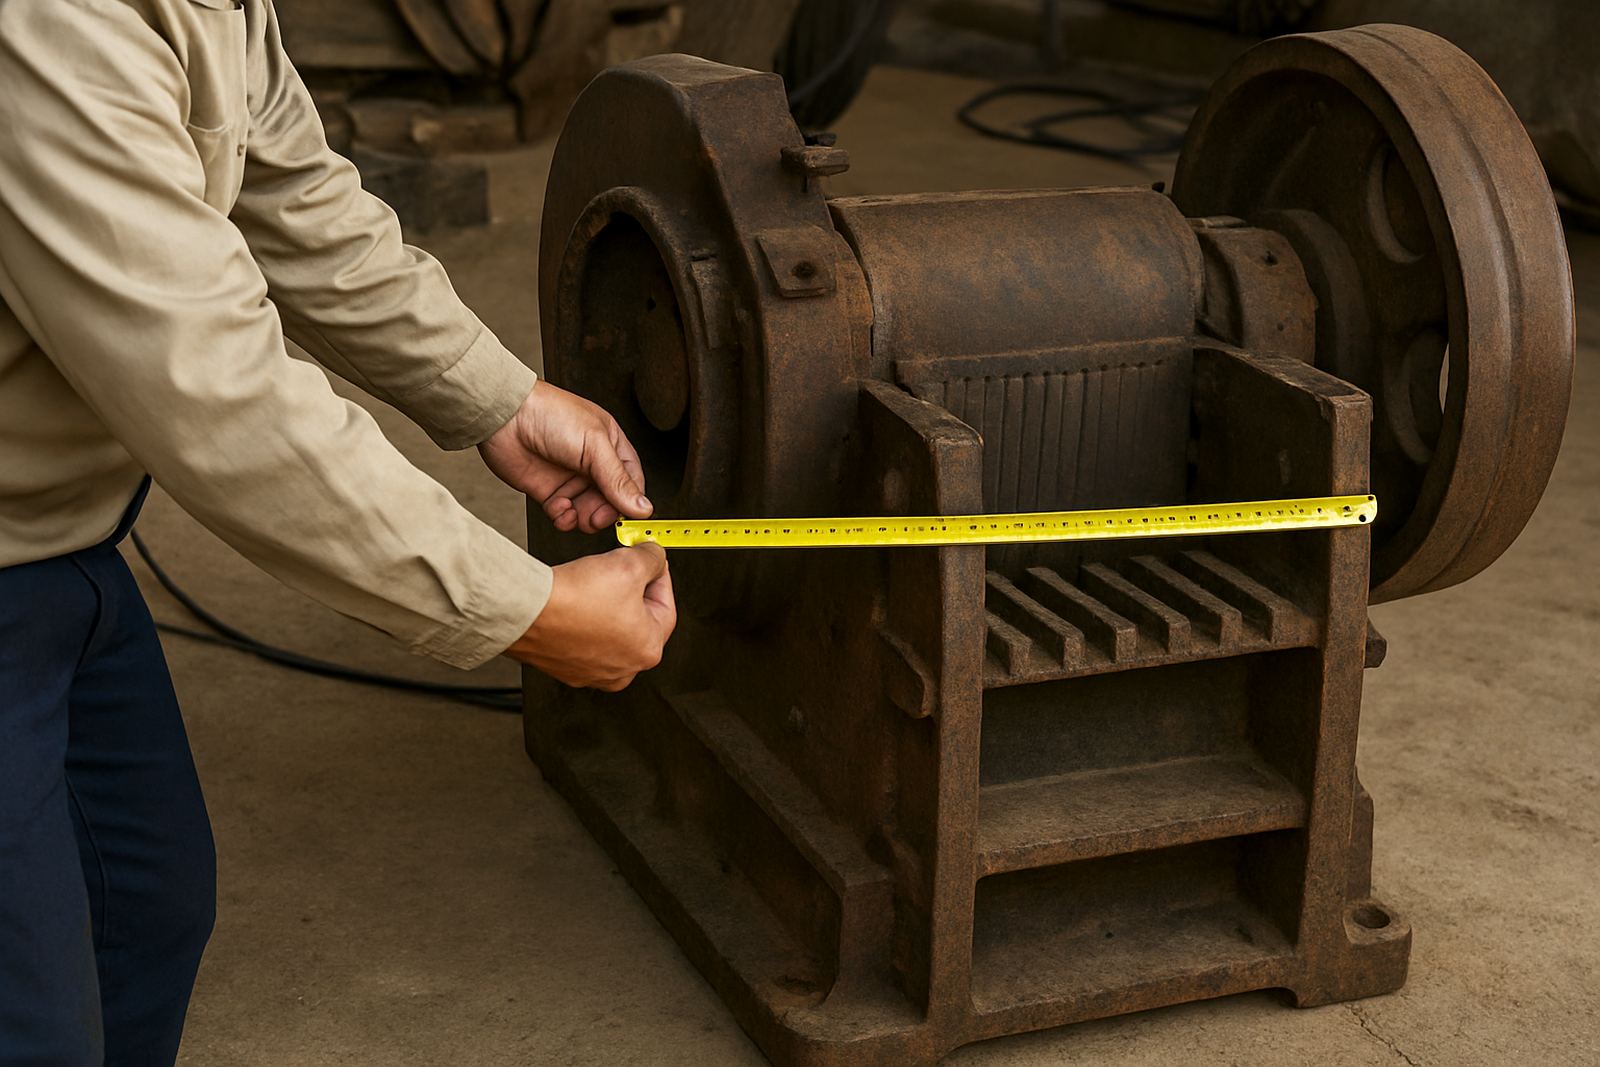
- Place a tape measure or known-size object beside it for scale
- Avoid dark corners, glare and wet surfaces
Show the sides that carry wear
Most buyers want to see the faces that do the work, especially where rock impact, abrasion or heat has left marks. Take side photos from both directions, plus a direct shot of any high-wear edge, liner face, tooth profile or contact surface.
Where there is a wear part, photograph the thickest point and the thinnest point. That gives the next mine or quarry a better idea of remaining life and whether the part suits a shutdown replacement or a longer-term stock item.
- Photograph all worn edges from close range
- Show one side at a time for clarity
- If there is a crack, photograph it from two angles
- Include any uneven wear, gouges or pitting
Capture the mounting holes, threads and fixing points
Many used spares are judged on whether they will bolt up correctly, so the fixing points matter as much as the body of the part. Take close ups of holes, lugs, threads, studs, keyways and seating surfaces, and make sure the camera is close enough for the buyer to see if there is damage.
If a bolt is seized, bent or missing, show that clearly. Buyers would rather know about it upfront than discover it during fitment at a plant in eMalahleni, Rustenburg or Secunda when downtime is already costing money.
- Photograph every fixing point separately
- Show both the front and back of mounting areas
- Highlight stripped threads, oval holes or broken lugs
- Include bolts, washers and spacers if they are still there and if they match the part
Include labels, casting marks and serial details
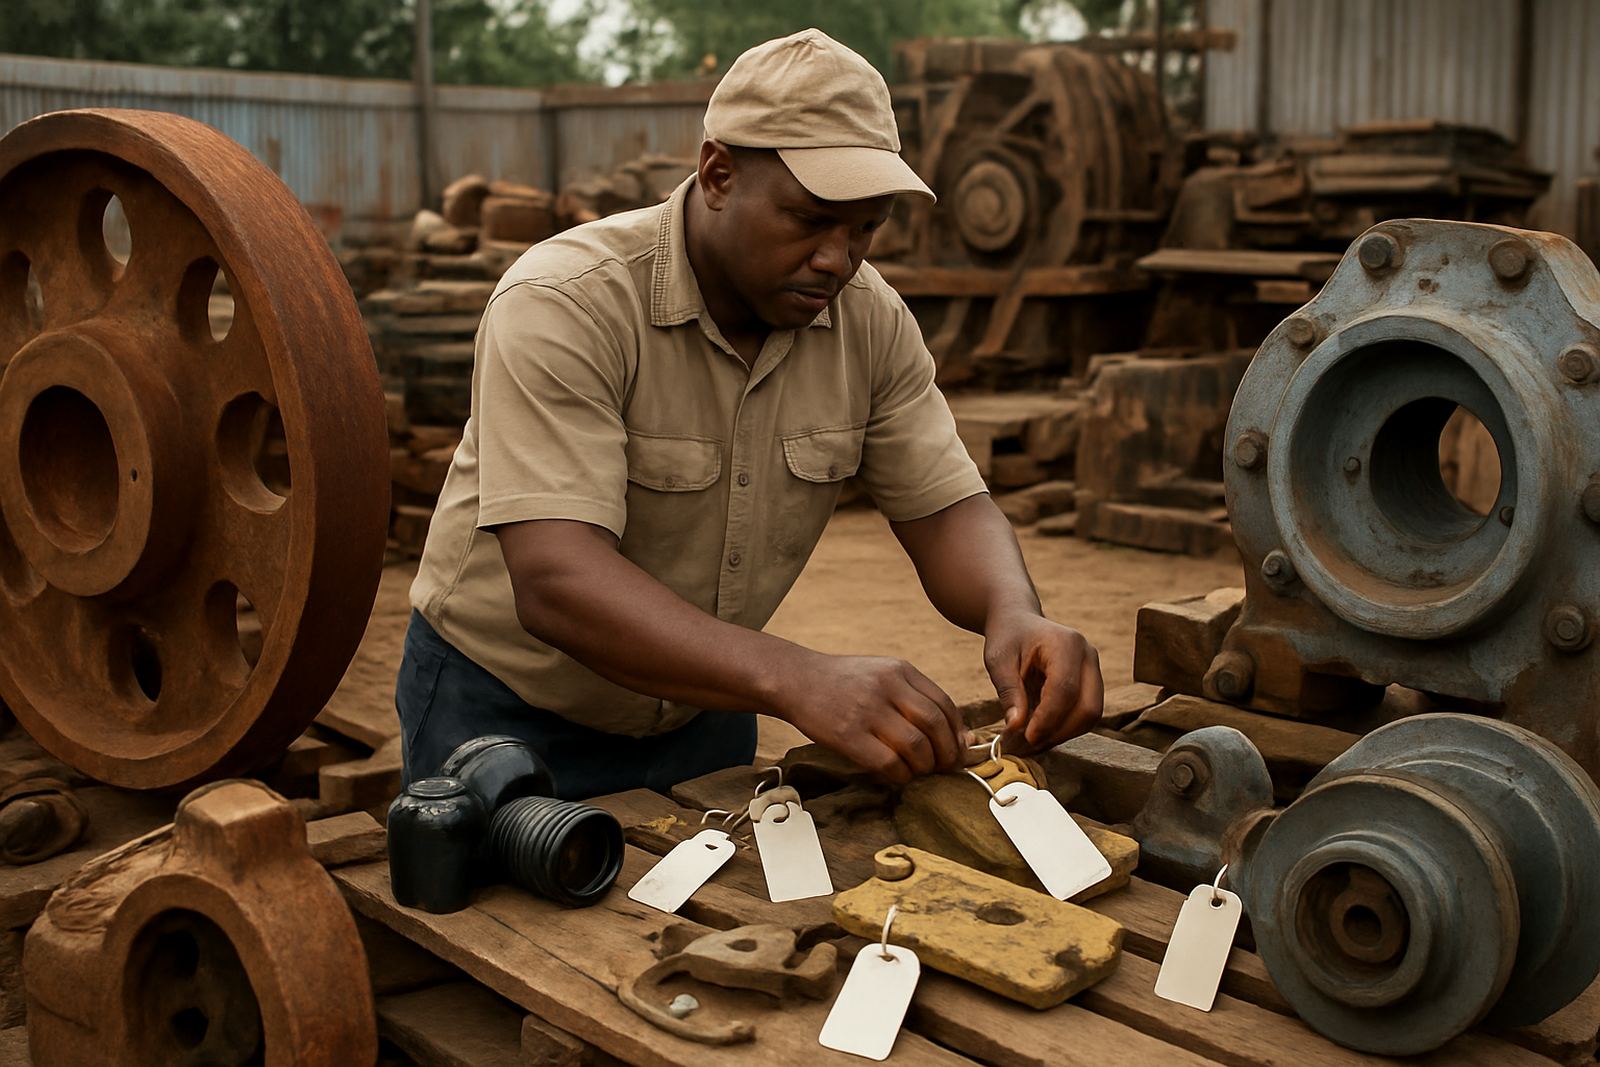
Clear identification is one of the most useful things you can show. Take a focused photo of any serial number plate, casting mark, part number, batch code or stamped reference on the item itself. If the marking is faint, move the light across the surface at an angle so the letters can be read more easily.
These photos help the inspection team compare the part against the correct machine type and reduce errors when a buyer needs a quick exchange during a shutdown. They also help when the same type of spare has been stored in the Middelburg yard for some time and needs proper traceability.
- Photograph every readable marking
- Take one wide shot and one close up of the same mark
- Wipe dust away first if it blocks the numbers
- If a mark is unclear, note that in the listing text
Do not skip the damage and repair history shots
Buyers need to know what has happened to the part before it reached the yard. Photograph weld repairs, repaired brackets, heat marks, cracks, scoring, bent sections and any areas that have been cut, built up or re-machined. If a part has been stored outdoors near the coast or in damp weather, show rust patches and surface corrosion too.
One honest close up can prevent disputes later. A clean set of images also helps determine whether the part belongs in exchange stock, yard storage or scrap versus exchange sorting.
- Show repaired areas from at least two angles
- Photograph corrosion, pitting and flaking paint
- Include any signs of overheating or distortion
- Do not hide missing pieces or broken sections
Finish with packaging and loading photos
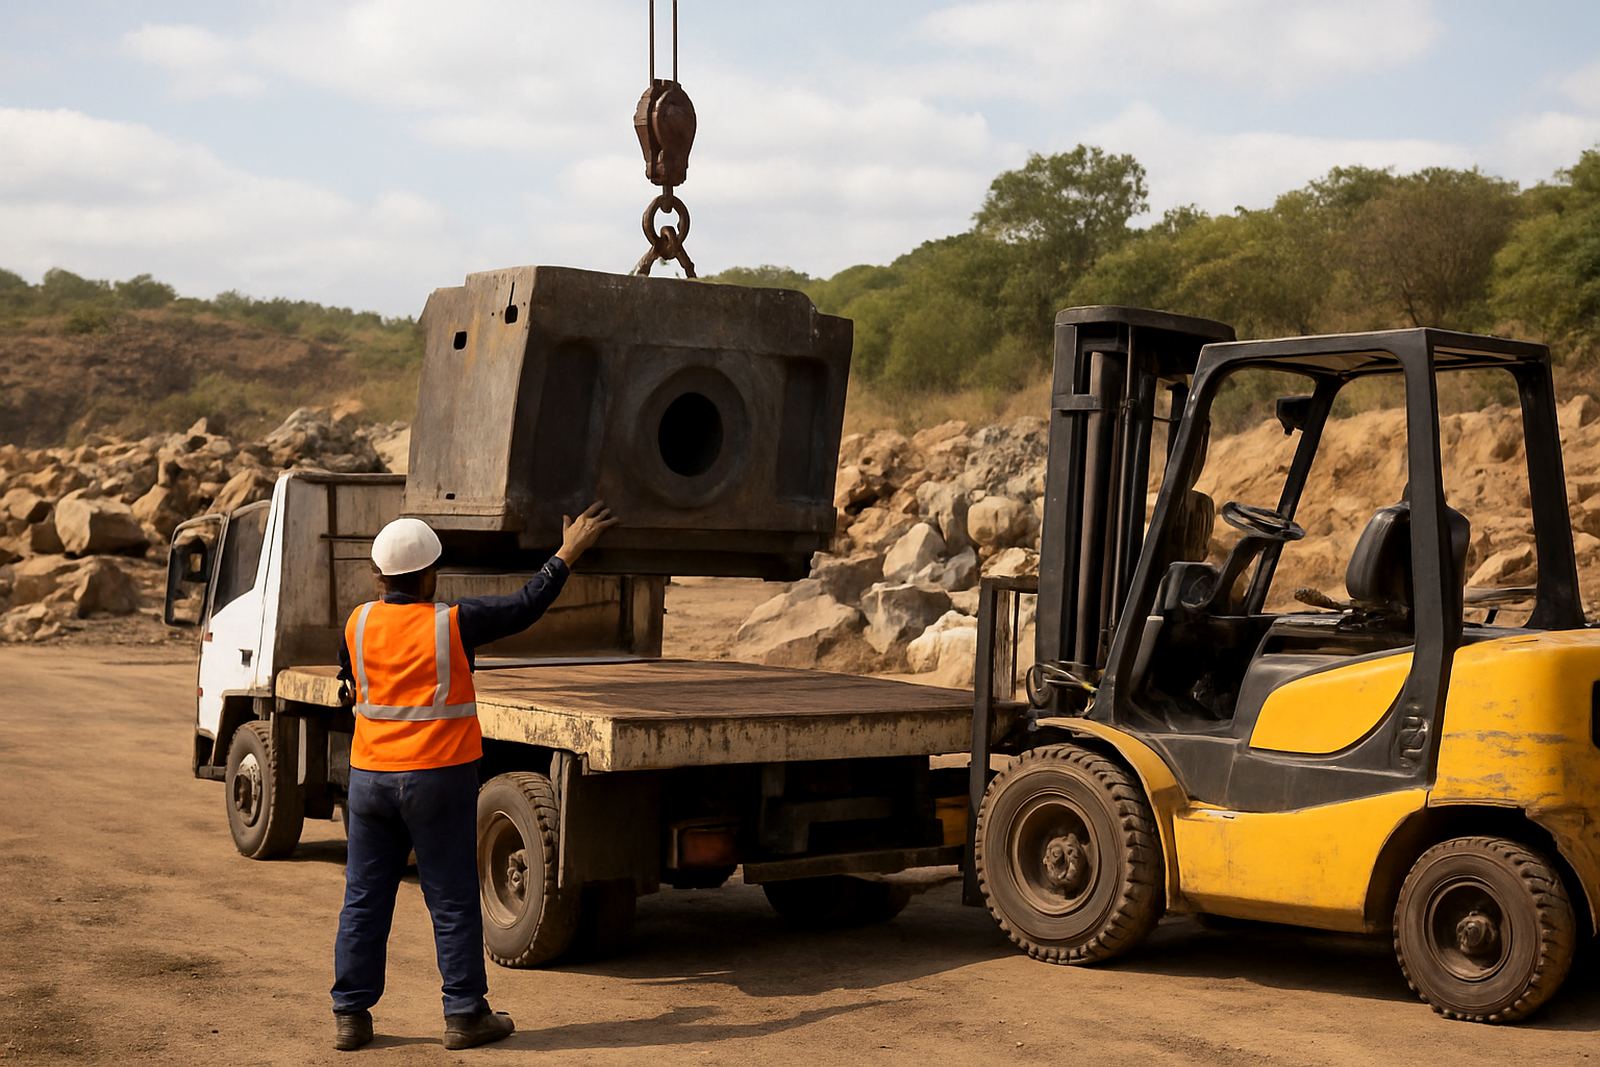
Once the part has been inspected, buyers still want to know how it will travel. Take photos of the pallet, crate, wrapping, straps, forklift pockets or lifting points. This is especially important for heavier items moving between Middelburg, Polokwane, Kathu, Pietermaritzburg and other mining regions where loading access can be tight.
Show whether the part is ready for local collection, nationwide delivery or consignment storage. Good packing photos give the next site confidence that the item can arrive in a usable condition, even after a long haul or a bumpy road section.
- Photograph the packed item before it leaves the yard
- Show how the part is strapped or braced
- Include lifting points and pallet condition
- Capture the final label or tag for reference
A simple checklist before you submit photos
Before sending images for a surplus listing, walk around the part once more and make sure the set tells the full story. A good photo pack should show the whole item, the wear surfaces, the mounting points, the markings and the packing condition. That is usually enough for a buyer to decide if the part is worth inspecting, exchanging or moving straight into storage.
Use the same photo order every time so your team can compare parts faster. It saves back-and-forth on the enquiry form and helps the Middelburg team process inspections, condition reports and urgent spares searches with fewer delays.
- Whole part
- Both sides
- Close ups of wear
- Fixing points and threads
- Serial numbers and cast marks
- Damage or repairs
- Packing and loading view